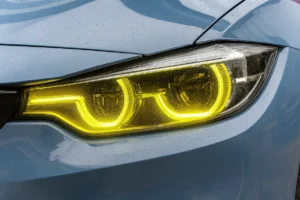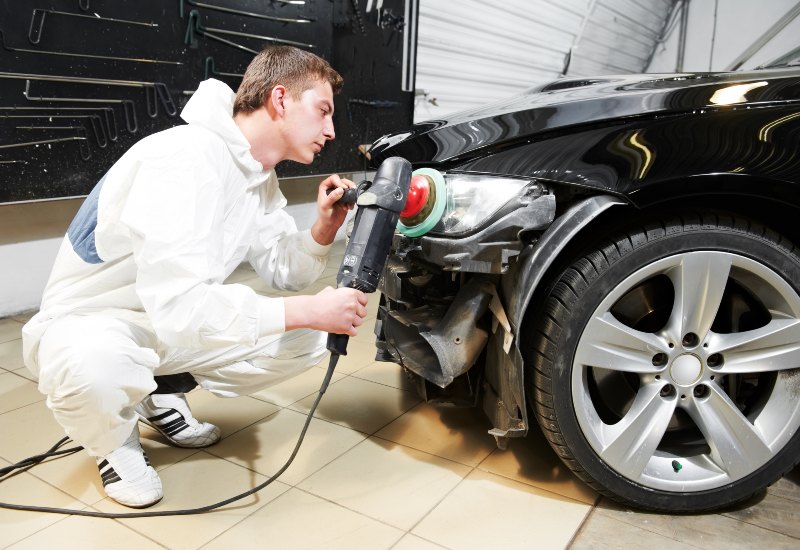
Clear, bright headlights are crucial for safe nighttime driving, especially through misty mornings, heavy rainfall, and unlit rural roads across Ireland. Over
Clear headlights matter. They help you drive safely at night. This is true on misty mornings, in heavy rain, and on dark rural roads across Ireland.
But headlights don’t stay clear forever. Most car headlights turn cloudy over time. They can look dull or yellow. This hurts your car’s looks. Worse, it cuts your night vision. It can also make your car fail the National Car Test (NCT).
So what’s the best fix? People try many things. Some use toothpaste or WD-40. Some buy DIY polish kits. Others choose full professional refinishing. This guide compares them all. We’ll show you the best way to restore your headlights for good — and save money over buying new ones.
Why Do Headlights Turn Yellow and Cloudy?
To fix the problem, it helps to know the cause.
Most headlights are made of a hard plastic called polycarbonate. It resists impact well. It’s much stronger than glass. That’s why car makers use it. But it has one weak point: sunlight.
Car makers add a clear UV coating at the factory. This coating protects the plastic underneath. It works well at first. Over the years, though, it wears down. Sun, road grit, salt, and harsh car washes all take a toll. Rain and heat speed up the damage too.
Once the coating breaks down, the plastic underneath starts to oxidize. This forms a hazy, cracked layer on top. That layer scatters light instead of aiming it at the road. Your headlights may still turn on. But much less light reaches the road ahead. This makes night driving harder and more dangerous.
Cold winters and salty roads make things worse. Dublin drivers see this a lot. So do drivers in coastal towns like Galway and Cork. Salt air speeds up the wear on the plastic coating.
Why This Matters for Irish Drivers
Ireland has long, dark winters. Many rural roads have no streetlights at all. Fog and rain are common too. This means your headlights work hard, most nights of the year.
Cloudy headlights don’t just look bad. They can be a real safety risk. Studies show that hazy headlights can cut light output by 50% or more. That’s a huge drop. It means you see less of the road. Other drivers may also see you less clearly.
There’s also the NCT to think about. Ireland’s National Car Test checks headlight brightness and beam alignment. Foggy or yellowed headlights often fail this test. A failed NCT means you can’t drive the car until you fix it. That turns a small issue into a bigger, more urgent one.
Comparing the Top Headlight Restoration Methods
Let’s look at the four most common fixes. Each one works in a different way. Each one lasts for a different amount of time.
1. Household Hacks (Toothpaste, WD-40, Baking Soda)
How it works: Toothpaste has mild grit that scrubs off surface dirt. Baking soda works in a similar way. WD-40 fills tiny cracks with oil. This gives a quick, shiny look. Many people try this first because it’s cheap and easy.
How long it lasts: 1 to 7 days.
Verdict: Not recommended. These tricks may look good for a photo. But they don’t remove the real problem — UV damage deep in the plastic. Rain washes WD-40 away fast. Then the plastic is left bare. It oxidizes even faster than before. In the end, this method can make things worse, not better.
2. Basic DIY Polishing Kits
How it works: Cheap kits from auto stores include a sanding block, polish, and a wipe-on sealant. You do all the work yourself, in your driveway. Most kits take about an hour per headlight.
How long it lasts: 1 to 3 months.
Verdict: A short-term fix. These kits can help a little. Your headlights may look clearer right away. But hand-sanding often leaves an uneven surface. That can throw off your headlight beam. An uneven beam can fail the NCT. The wipe-on sealant also breaks down fast in Irish weather. Most people find they need to repeat this every few months.
3. Spray Clear Coating (2K Spray Cans)
How it works: You sand off the old coating first. Then you spray on a 2K polyurethane clear coat. This type of coat is stronger than a basic wipe-on sealant.
How long it lasts: 1 to 2 years.
Verdict: Risky without the right setup. A 2K clear coat blocks UV rays well. It can look great when done right. But without a proper spray booth, things can go wrong fast. You may get a bumpy, uneven texture. Paint overspray on the car body is common too. The coat can peel off if the surface isn’t perfectly clean before you spray. This method needs real skill and the right tools.
4. Professional Multi-Stage Wet Sanding and UV Sealant Refinishing
How it works: A trained tech uses power polishers and wet sanding. They work through several grits, from P800 to P3000. They finish with a hard UV sealant or ceramic coat. This process removes all the old, damaged plastic.
How long it lasts: 3 to 5+ years.
Verdict: The best method overall. This process strips away all the dead plastic. It leaves a smooth, optically clear surface. Your headlight beam stays true and even. The seal gives factory-level UV protection. It costs more up front. But it lasts far longer than any other method. Over time, it saves you money too.

Method Comparison at a Glance
| Method | Clarity | How Long It Lasts | Passes NCT? | Cost |
|---|---|---|---|---|
| Household hacks (toothpaste) | Low (~20%) | A few days | No | ~€5 |
| DIY store kits | Fair (~50–60%) | 1–3 months | Maybe | €15–€30 |
| 2K spray painting | Good (~80–90%) | 1–2 years | Maybe, depends on finish | €40–€80 |
| Professional restoration | Best (99% like new) | 3–5+ years | Yes | Starts at ~€150 |
The Best Method, Step by Step
At HeadlightPro.ie in Limerick, we use a careful, five-step process. No shortcuts. Here’s exactly how it works.
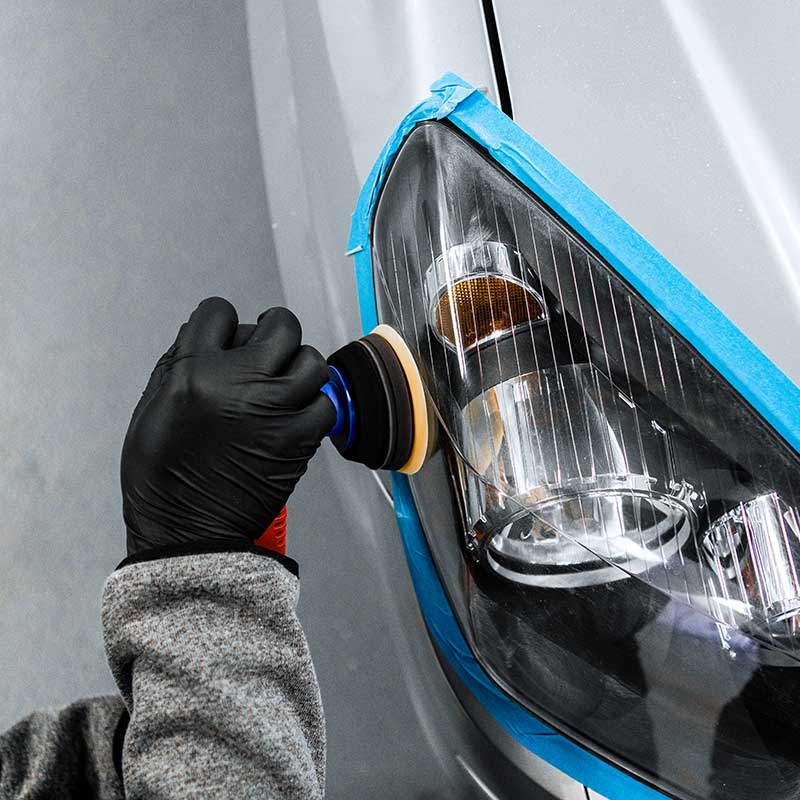
Step 1: Mask the Surface We cover the paint around your headlight with strong tape. This is called masking film. It keeps your paint safe from scratches and stray polish. We take our time on this step. A clean edge makes the final result look sharp.
Step 2: Sand in Stages We use power polishers to strip the old, yellow coating. We start with P800 grit. This cuts through heavy buildup fast. Then we move to P1200, then P2000. We finish at P3000 for a smooth, fine surface. Each grit removes the marks left by the one before it.
Step 3: Polish for Clarity We use strong polish compounds and soft foam pads. This removes any tiny marks left by sanding. The lens turns clear again, almost like new. This step takes real skill. Too much heat from the polisher can warp the plastic.
Step 4: Add a UV Shield We apply a UV-resistant clear coat or ceramic layer. It bonds tightly to the plastic. This stops future yellowing and weather damage for years. This step is the key difference between a DIY job and a lasting fix.
Step 5: Check the Beam Last, we test the headlight beam pattern and output. This confirms it meets NCT rules for light and focus. You leave knowing your car is ready for its next test.
Watch for Moisture Inside the Headlight
Polishing the outside only helps if the inside is dry too. Fog or water drops inside the headlight are a warning sign. They may mean the seals are broken. They can also mean the housing has a small crack.
If you ignore this, moisture can damage the chrome reflector inside. It can also ruin the electronics in xenon or LED headlights. Fixing this later, once it’s damaged, often costs far more than a simple reseal. That’s why HeadlightPro.ie also offers resealing and internal repairs, not just outside polish.
If you’re also curious about bulb types, this guide on LED vs Halogen headlight bulbs for night visibility breaks down which one gives you better light on the road. For more local car care tips, the Limerick Headlight Repair blog hub has additional guides worth a look.
How to Keep Your Headlights Clear After Restoration
A good restoration can last for years. But a little care helps it last even longer.
- Wash your headlights by hand when you can. Avoid harsh brush car washes.
- Park in shade or a garage when possible. This cuts down on UV exposure.
- Apply a UV wax or sealant every six months. This adds an extra layer of protection.
- Check for fog or moisture inside the lens now and then. Catch problems early.
- Book a check-up once a year. A quick inspection can spot small issues before they grow.
Frequently Asked Questions
How much does professional headlight restoration cost? Prices in Ireland usually start around €150. The exact cost depends on your car and how bad the damage is.
Will restoration help my car pass the NCT? Yes. Professional restoration is built to meet NCT beam and clarity rules. Most cars pass right after the service.
Can I restore headlights myself? You can try a basic kit. It may help for a short time. But it often doesn’t fix deep UV damage. It also can’t match the clarity or lifespan of a professional job.
How often should I restore my headlights? Most cars need it every 3 to 5 years. This depends on your climate, how much you drive, and where you park.
The Bottom Line
Want the best fix for cloudy headlights? Choose professional wet sanding with a UV sealant. DIY kits and home hacks may help for a short time. But only a full professional job restores your true beam pattern, meets NCT rules, and lasts for years.
Don’t risk an NCT failure. Don’t drive with poor night vision. Contact HeadlightPro.ie today to book your headlight restoration.